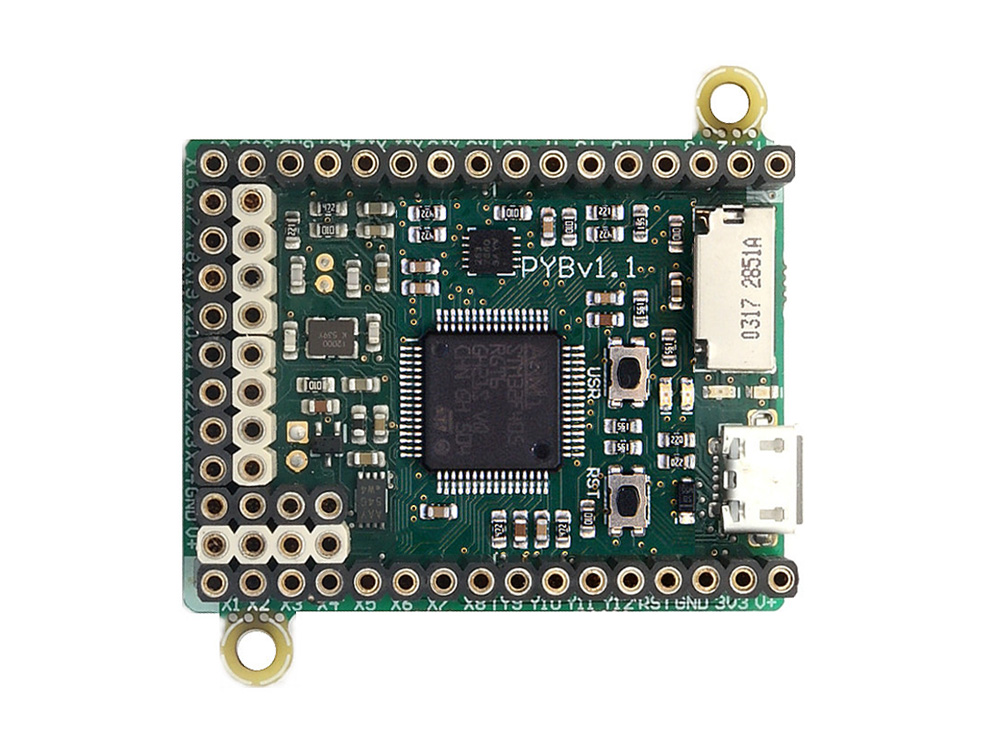
pyboard 快速开发指南,简单介绍一组有关 pyboard 开发板下使用 MicroPython 开发的范例程序。
通用控制
import pyb

pyb.delay(50) # wait 50 milliseconds
pyb.millis() # number of milliseconds since bootup
pyb.repl_uart(pyb.UART(1, 9600)) # duplicate REPL on UART(1)
pyb.wfi() # pause CPU, waiting for interrupt
pyb.freq() # get CPU and bus frequencies
pyb.freq(60000000) # set CPU freq to 60MHz
pyb.stop() # stop CPU, waiting for external interrupt
LEDs
from pyb import LED

led = LED(1) # red led
led.toggle()
led.on()
led.off()
Pins 和 GPIO

from pyb import Pin

p_out = Pin('X1', Pin.OUT_PP)
p_out.high()
p_out.low()

p_in = Pin('X2', Pin.IN, Pin.PULL_UP)
p_in.value() # get value, 0 or 1
电机控制
from pyb import Servo

s1 = Servo(1) # servo on position 1 (X1, VIN, GND)
s1.angle(45) # move to 45 degrees
s1.angle(-60, 1500) # move to -60 degrees in 1500ms
s1.speed(50) # for continuous rotation servos
外中断
from pyb import Pin, ExtInt

callback = lambda e: print("intr")
ext = ExtInt(Pin('Y1'), ExtInt.IRQ_RISING, Pin.PULL_NONE, callback)
定时器
from pyb import Timer

tim = Timer(1, freq=1000)
tim.counter() # get counter value
tim.freq(0.5) # 0.5 Hz
tim.callback(lambda t: pyb.LED(1).toggle())
PWM (脉冲宽度调制)
from pyb import Pin, Timer

p = Pin('X1') # X1 has TIM2, CH1
tim = Timer(2, freq=1000)
ch = tim.channel(1, Timer.PWM, pin=p)
ch.pulse_width_percent(50)
ADC (模数转换器)
from pyb import Pin, ADC

adc = ADC(Pin('X19'))
adc.read() # read value, 0-4095
DAC (数模转换器)
from pyb import Pin, DAC

dac = DAC(Pin('X5'))
dac.write(120) # output between 0 and 255
UART (串口总线)
from pyb import UART

uart = UART(1, 9600)
uart.write('hello')
uart.read(5) # read up to 5 bytes
SPI 总线
from pyb import SPI

spi = SPI(1, SPI.MASTER, baudrate=200000, polarity=1, phase=0)
spi.send('hello')
spi.recv(5) # receive 5 bytes on the bus
spi.send_recv('hello') # send a receive 5 bytes
I2C 总线
from pyb import I2C

i2c = I2C(1, I2C.MASTER, baudrate=100000)
i2c.scan() # returns list of slave addresses
i2c.send('hello', 0x42) # send 5 bytes to slave with address 0x42
i2c.recv(5, 0x42) # receive 5 bytes from slave
i2c.mem_read(2, 0x42, 0x10) # read 2 bytes from slave 0x42, slave memory 0x10
i2c.mem_write('xy', 0x42, 0x10) # write 2 bytes to slave 0x42, slave memory 0x10


发表评论